Are you looking to straighten your teeth? We might have the perfect solution for you! Invisalign is a popular orthodontic treatment using clear aligners to gradually shift your teeth into proper alignment. Invisalign benefits include its discreet appearance, removability, improved oral hygiene, comfort, fewer dental visits, predictable results, and versatility in treating various orthodontic issues.
However, you should understand the treatment and its advantages before you search Google for an Invisalign dentist near you to schedule a consultation.
These advantages make Invisalign attractive for individuals seeking a more convenient and aesthetically pleasing orthodontic solution. This blog walks you through a step-by-step process involved in the treatment.
Continue reading as we dive into the details of Invisalign before and after the treatment process, along with its pros and cons, in the following sections.
Pros & Cons Of Invisalign Treatment
Pros Of The Treatment
- Aesthetics: Invisalign aligners are virtually invisible, allowing you to straighten your teeth discreetly.
- Removability: You can easily remove the aligners when eating or cleaning your teeth, eliminating dietary restrictions often associated with traditional braces.
- Comfort: The smooth plastic Invisalign aligners are composed to lessen the chance of irritation and pain sometimes associated with metal braces.
- Oral Hygiene: With Invisalign, you can brush and floss your teeth normally, promoting better oral hygiene during treatment.
Cons Of The Treatment
- Compliance: The success of Invisalign relies heavily on patient compliance. Aligners must be worn for 20 to 22 hours daily to achieve optimal results.
- Cost: Invisalign treatment may be more expensive than traditional braces, depending on your case’s complexity and the treatment duration.
- Discomfort: While generally more comfortable than traditional braces, some patients may experience initial discomfort or soreness when wearing a new set of aligners.
So now that we have an idea of the pros and cons of Invisalign treatment let’s look at the stages involved in the treatment procedure in the following section.
Stages Involved In Invisalign Treatment
Step 1: Consultation with an Invisalign Dentist
The first step in the Invisalign aligners treatment process is to schedule a consultation with a certified Invisalign dentist. During this initial visit, your dentist Navarro will evaluate your teeth and discuss your treatment goals.
They will determine if you’re a suitable candidate for Invisalign based on the complexity of your case. X-rays, impressions, and photographs of your teeth may be taken to create a 3D image of your smile.
Step 2: Customized Treatment Plan
Using the 3D digital image of your teeth, your Invisalign dentist in Corsicana, Texas, will work closely with the Invisalign lab to create a customized treatment plan.
This plan will map out the exact movements of your teeth throughout the treatment process. You’ll be able to visualize the predicted outcome of your smile, including the before and after images of your teeth with Invisalign.
Step 3: Fabrication Of Aligners
Once the Invisalign orthodontist finalizes your treatment plan, they will send it to the lab. The lab will then fabricate custom-made aligners for your teeth from a clear and smooth plastic material that is virtually invisible when worn. You will wear each set of aligners for about two weeks before progressing to the next set.
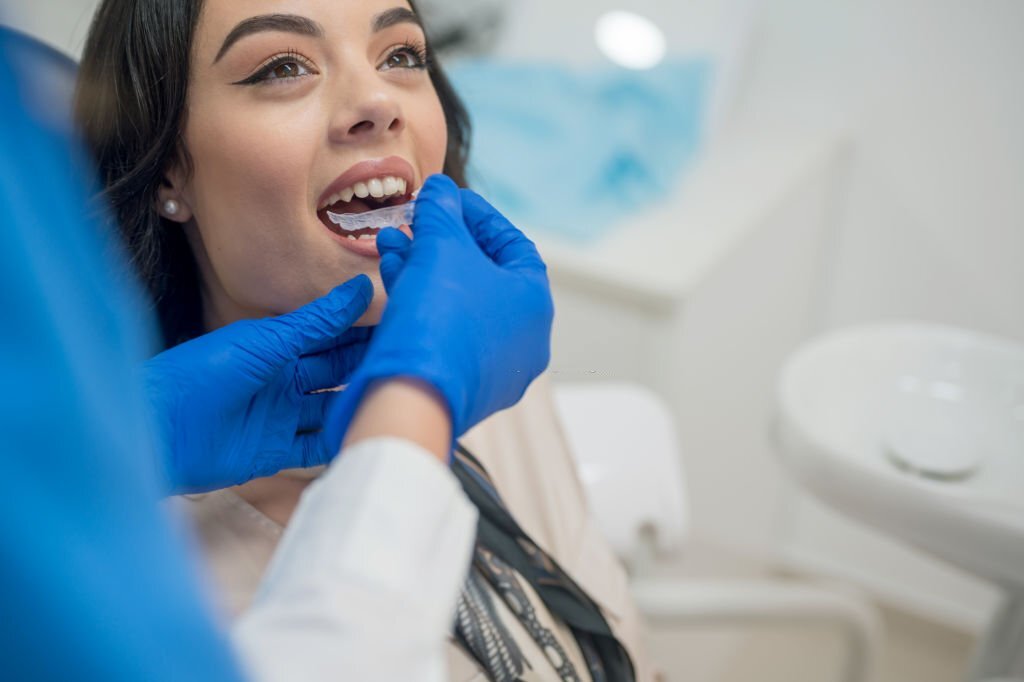
Step 4: Wearing The Aligners
After you receive your aligners from your dentist, it’s time to start your Invisalign journey. You’ll be instructed to wear the aligners for 20 to 22 hours daily, removing them only for eating, drinking, brushing, and flossing.
Besides, it’s crucial to follow the instructions provided by your dentist to ensure the effectiveness of the treatment.
Step 5: Progress and Check-ups
Approximately every six to eight weeks, you’ll have a check-up appointment with your Invisalign dentist to monitor your progress. During these appointments, your dentist will assess the movement of your teeth and provide you with the next set of aligners. The number of aligners needed and the duration of treatment varies depending on your specific case.
Step 6: Completion of Treatment
Once you have completed wearing all the sets of aligners in your series, you will reach the end of your Invisalign treatment. However, the journey doesn’t end here. Your dentist will likely recommend using retainers to maintain the results achieved. Retainers are typically worn at night and help prevent your teeth from returning to their original positions.
Takeaway To Finding An Invisalign Dentist Near You
If you’re considering Invisalign, finding a qualified and experienced Invisalign dentist near you is important. You can start by asking for recommendations from your regular dentist or searching online directories for certified Invisalign providers in your area. Schedule a consultation with the dentist to discuss your options and determine whether Invisalign is right.
Now You Know!
In conclusion, Invisalign offers many benefits, including aesthetics, removability, comfort, and improved oral hygiene. However, patient compliance and the potential cost are important considerations. If you’re interested in Invisalign, consult an experienced dentist to determine if it’s the right orthodontic treatment.
Let’s Engineer Your Smile
Invisalign treatment has benefits in ways more than one! Navarro Dental Center strives to bring you the perks of Invisalign in the most hassle-free and convenient manner. Our state-of-the-art equipment and a group of Invisalign experts bring you the best treatment at the most reliable price. Come, book an appointment, or walk into our clinic today!